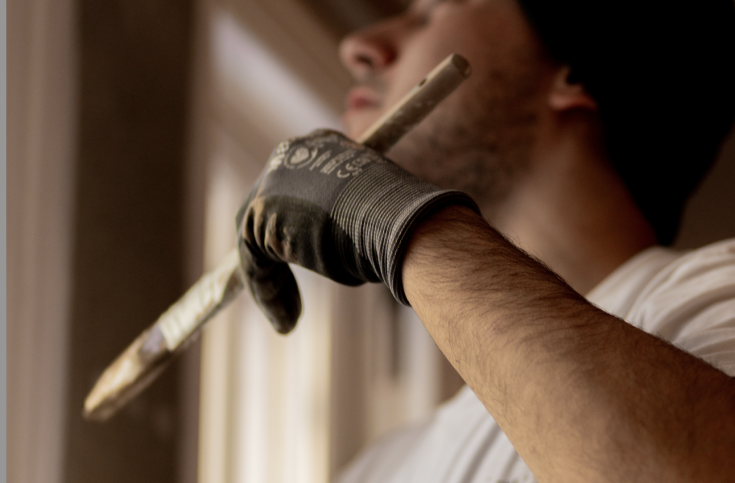
Paint Your Ceiling Like A Professional

You Will Need:
- Roller and tray/scuttle
- 1.5/2 inch brush
- Extension pole
- Stepladder
- Dust sheets
- Dusting brush
- 120 grade sandpaper
- A low-tack masking tape
- Goggles
- Paint *
* For the impression of taller walls, choose a traditional white. For a cosy and inviting feel, we recommend darker colours!
Preparation
Clear the room you’ll be working in as much as possible, before covering everything with dust/drop sheets. As experienced painters and decorators in North London and South London, our go-to tip is to use an old bed sheet. This will prevent your surfaces and floors from getting covered with flecks of paint as you roll.
Make sure to dust off any cobwebs from the ceiling before you begin. Use sandpaper to rub out any old nibs of paint or roller marks. This will give you a clean and smooth surface for painting.
Pop ceiling lights out if you can - if they can’t be popped out, tape around them with masking tape. Then, use the masking tape to create a border where the ceiling meets the walls, so you can paint the ceiling only! However, if you’re going to paint the walls afterwards, then you can let the ceiling paint go onto the walls by an inch or so and cut in with the wall colour later.
Cutting In
The first stage of painting is the ‘cutting in’. As a team of professional painters and decorators, we can tell you that working directly from the tin is a no-go - especially if you’re on a ladder, as you don’t want to risk dropping the tin! It’s best to decant some paint into a small container to work from.
Use your brush to paint all around the edges of the ceiling, where your roller won’t be able to reach. Do the same around each light, creating a border that you can then overlap with the roller. Don’t overload the brush, and ‘lay off’ the paint with light strokes to avoid getting strong brush marks!
It’s time to put the brush away for now, so wrap it in biodegradable plastic (or a supermarket biodegradable food waste bag) to keep it moist and clean for later.
Rolling The Ceiling
Now it’s time to get on the roller! Put your goggles on to avoid getting any spray in your eyes. Load up the roller evenly with paint, and be careful not to drip. Start in one corner of the ceiling and roll in a fluid motion.
When you start a new section, try to roll back over the edge of the last section to overlap and get rid of roller marks and excess paint. Also make sure to roll as far as possible into your brushed sections.
Here’s an extra tip! As professional painters and decorators, we often use an unloaded roller to very lightly go over the surface of the ceiling, especially when we’ve done a big section and while the paint is still damp. This helps you achieve a smooth finish and work out any roller marks.
Let It Dry
One coat may not be enough to give a solid finish, so wait about 3 hours for the first coat to dry before beginning the cutting in and rolling process again.
Rolling can be tiring, so make sure to have a tea break (or two!)
Clean Up
Carefully remove the masking tape from your walls and lights (you can do this when the paint is still wet). Take up the dust sheets, and clean your tools thoroughly - check out our blog post for tips!
Once the ceiling is dry, pop the lights back in and take a moment to admire the results of your hard work.
If this seems like a bit too much hard work and you’d rather let the professionals handle it, get in contact with us and we’d be happy to help!